Technical


From ordering to maintenance | by Livio Salvadori


In any tiling project, it is essential to resolve a series of seemingly trivial but actually very important issues before ordering the tiles. First, you need to calculate the exact size of the surface to be tiled (both floors and walls) and draw up a meticulous project that takes account of the installation technique, the layout pattern and the joints. Secondly, you should calculate the quantity of offcuts that will be produced due to operations such as drilling and cutting the tiles to meet specific project requirements, the characteristics of the room and the chosen installation technique (for example, a diagonal layout produces more waste than a parallel layout). It is also good practice to keep a few spare tiles left over at the end of the job for repairs, so it is worth ordering a quantity about 10% larger than the size of the surface to be tiled.
Be sure to order the right quantity the first time around because tiles in subsequent orders may vary slightly.
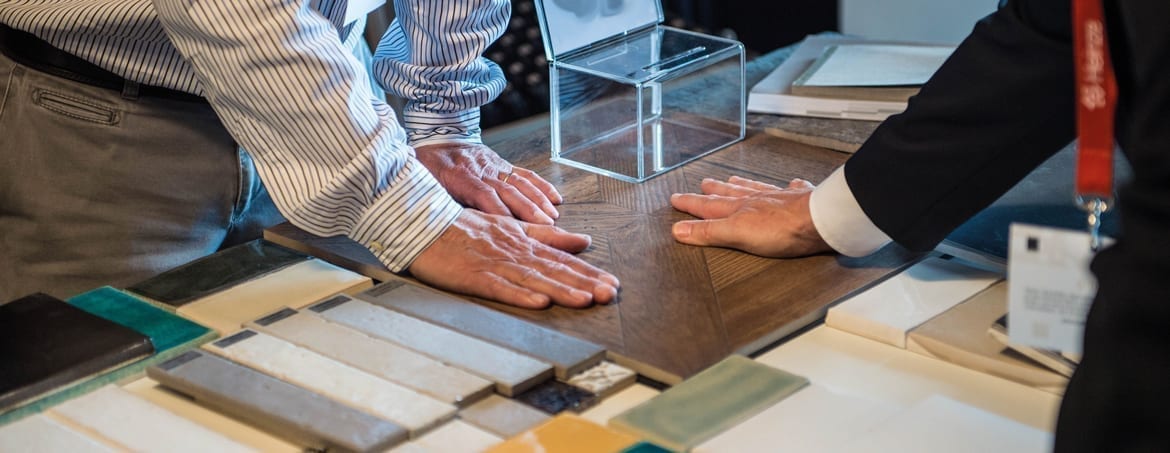
Once the tiles have arrived, be sure to check that the main product details are correct (manufacturer, catalogue name of the product, size and colour) and that they correspond to the chosen quality class. For first choice tiles in particular, remember that the reference standard for surface quality defects permits no more than 5 defective tiles every 100.
Two other very important parameters are tone, which represents the colour of each specific tile batch, and calibre, the precise manufacturing size of the tiles. Both of these values must be uniform across the entire batch of supplied tiles as any differences might affect the finished installation. Tiles of the same type but with a different tone or calibre should be considered different products and therefore not suitable for use on the same surface.
However, if the project is large enough to allow for the use of batches with different tone or calibre, these should be kept in different locations on the worksite to avoid confusion.
After carrying out these checks, the next step is to set up and organise the site and start laying the tiles. Once the substrates have been carefully analysed and prepared, the tile layer can carefully check the measurements, squaring, verticality of the walls, uniformity of the floor slabs and the presence of any slopes, and take any action necessary. To achieve a uniform tiled surface, suitable reference points should be chosen to avoid the presence of any visual distractions such as cut or poorly joined tiles in highly visible areas. Prepare the mortar or adhesive then proceed to lay the tiles. Before grouting the joints and performing final cleaning of the surface, the tiling should be left for anything from few hours to several days depending on the type of installation and the products used.
When finished, the tiled surface is handed over to the client, who plays an important role because the durability of the surface will depend on how it is used and maintained. To maintain the technical and aesthetic qualities of the ceramic tiling, a few simple and common-sense precautions should be followed according to the characteristics of the materials.
The following are a few useful tips for effective maintenance.
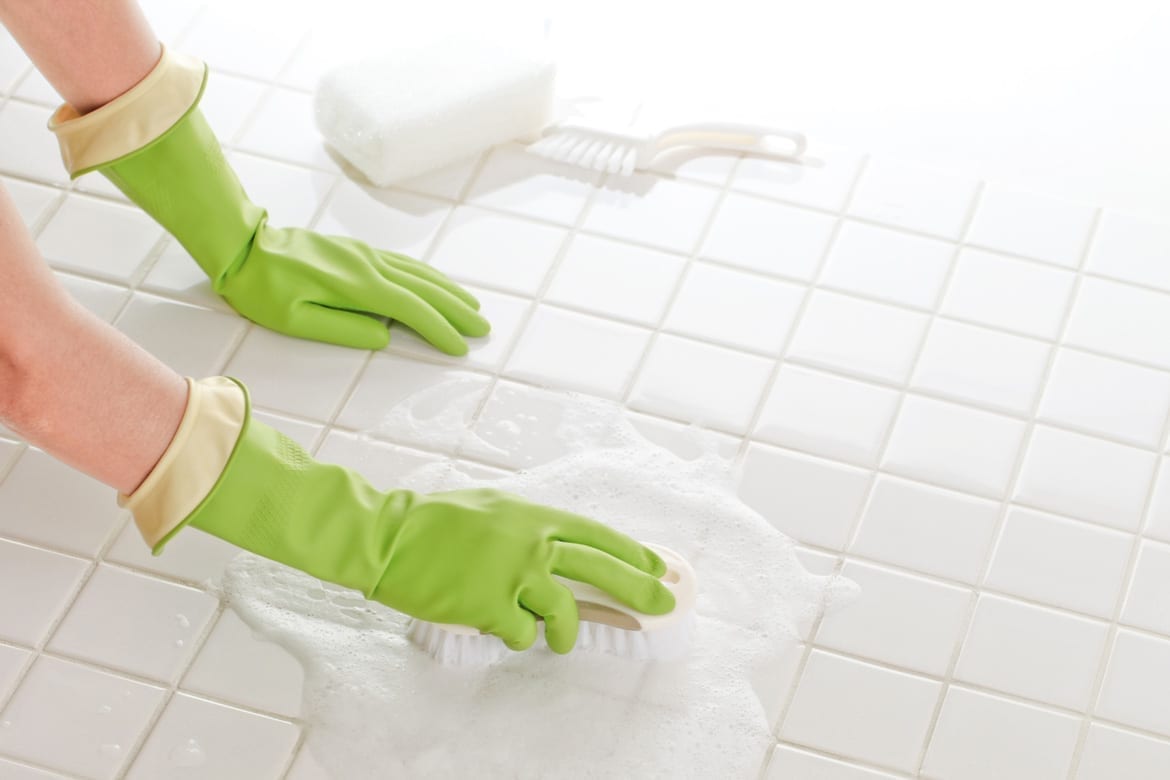
The tiled surface consists of tiles and joints, so it is important to look after both of these aspects.
For cleaning, use suitable products such as commercially-available tile detergents, avoiding very strong and aggressive acids. Do not use highly abrasive cleaning agents such as wire wool, especially in the case of glossy tiles which are more likely to show up the visible effects of scratching and loss of shine. Also bear in mind that certain types of dirt such as dust and sand increase the abrasive effect of foot traffic, so it is important to keep the floor as clean as possible and to use a door mat at the entrance to prevent dirt from being carried in from outside on shoes.
Also remember to protect the floor appropriately while performing work in tiled rooms and avoid dropping heavy objects.
April 2019
